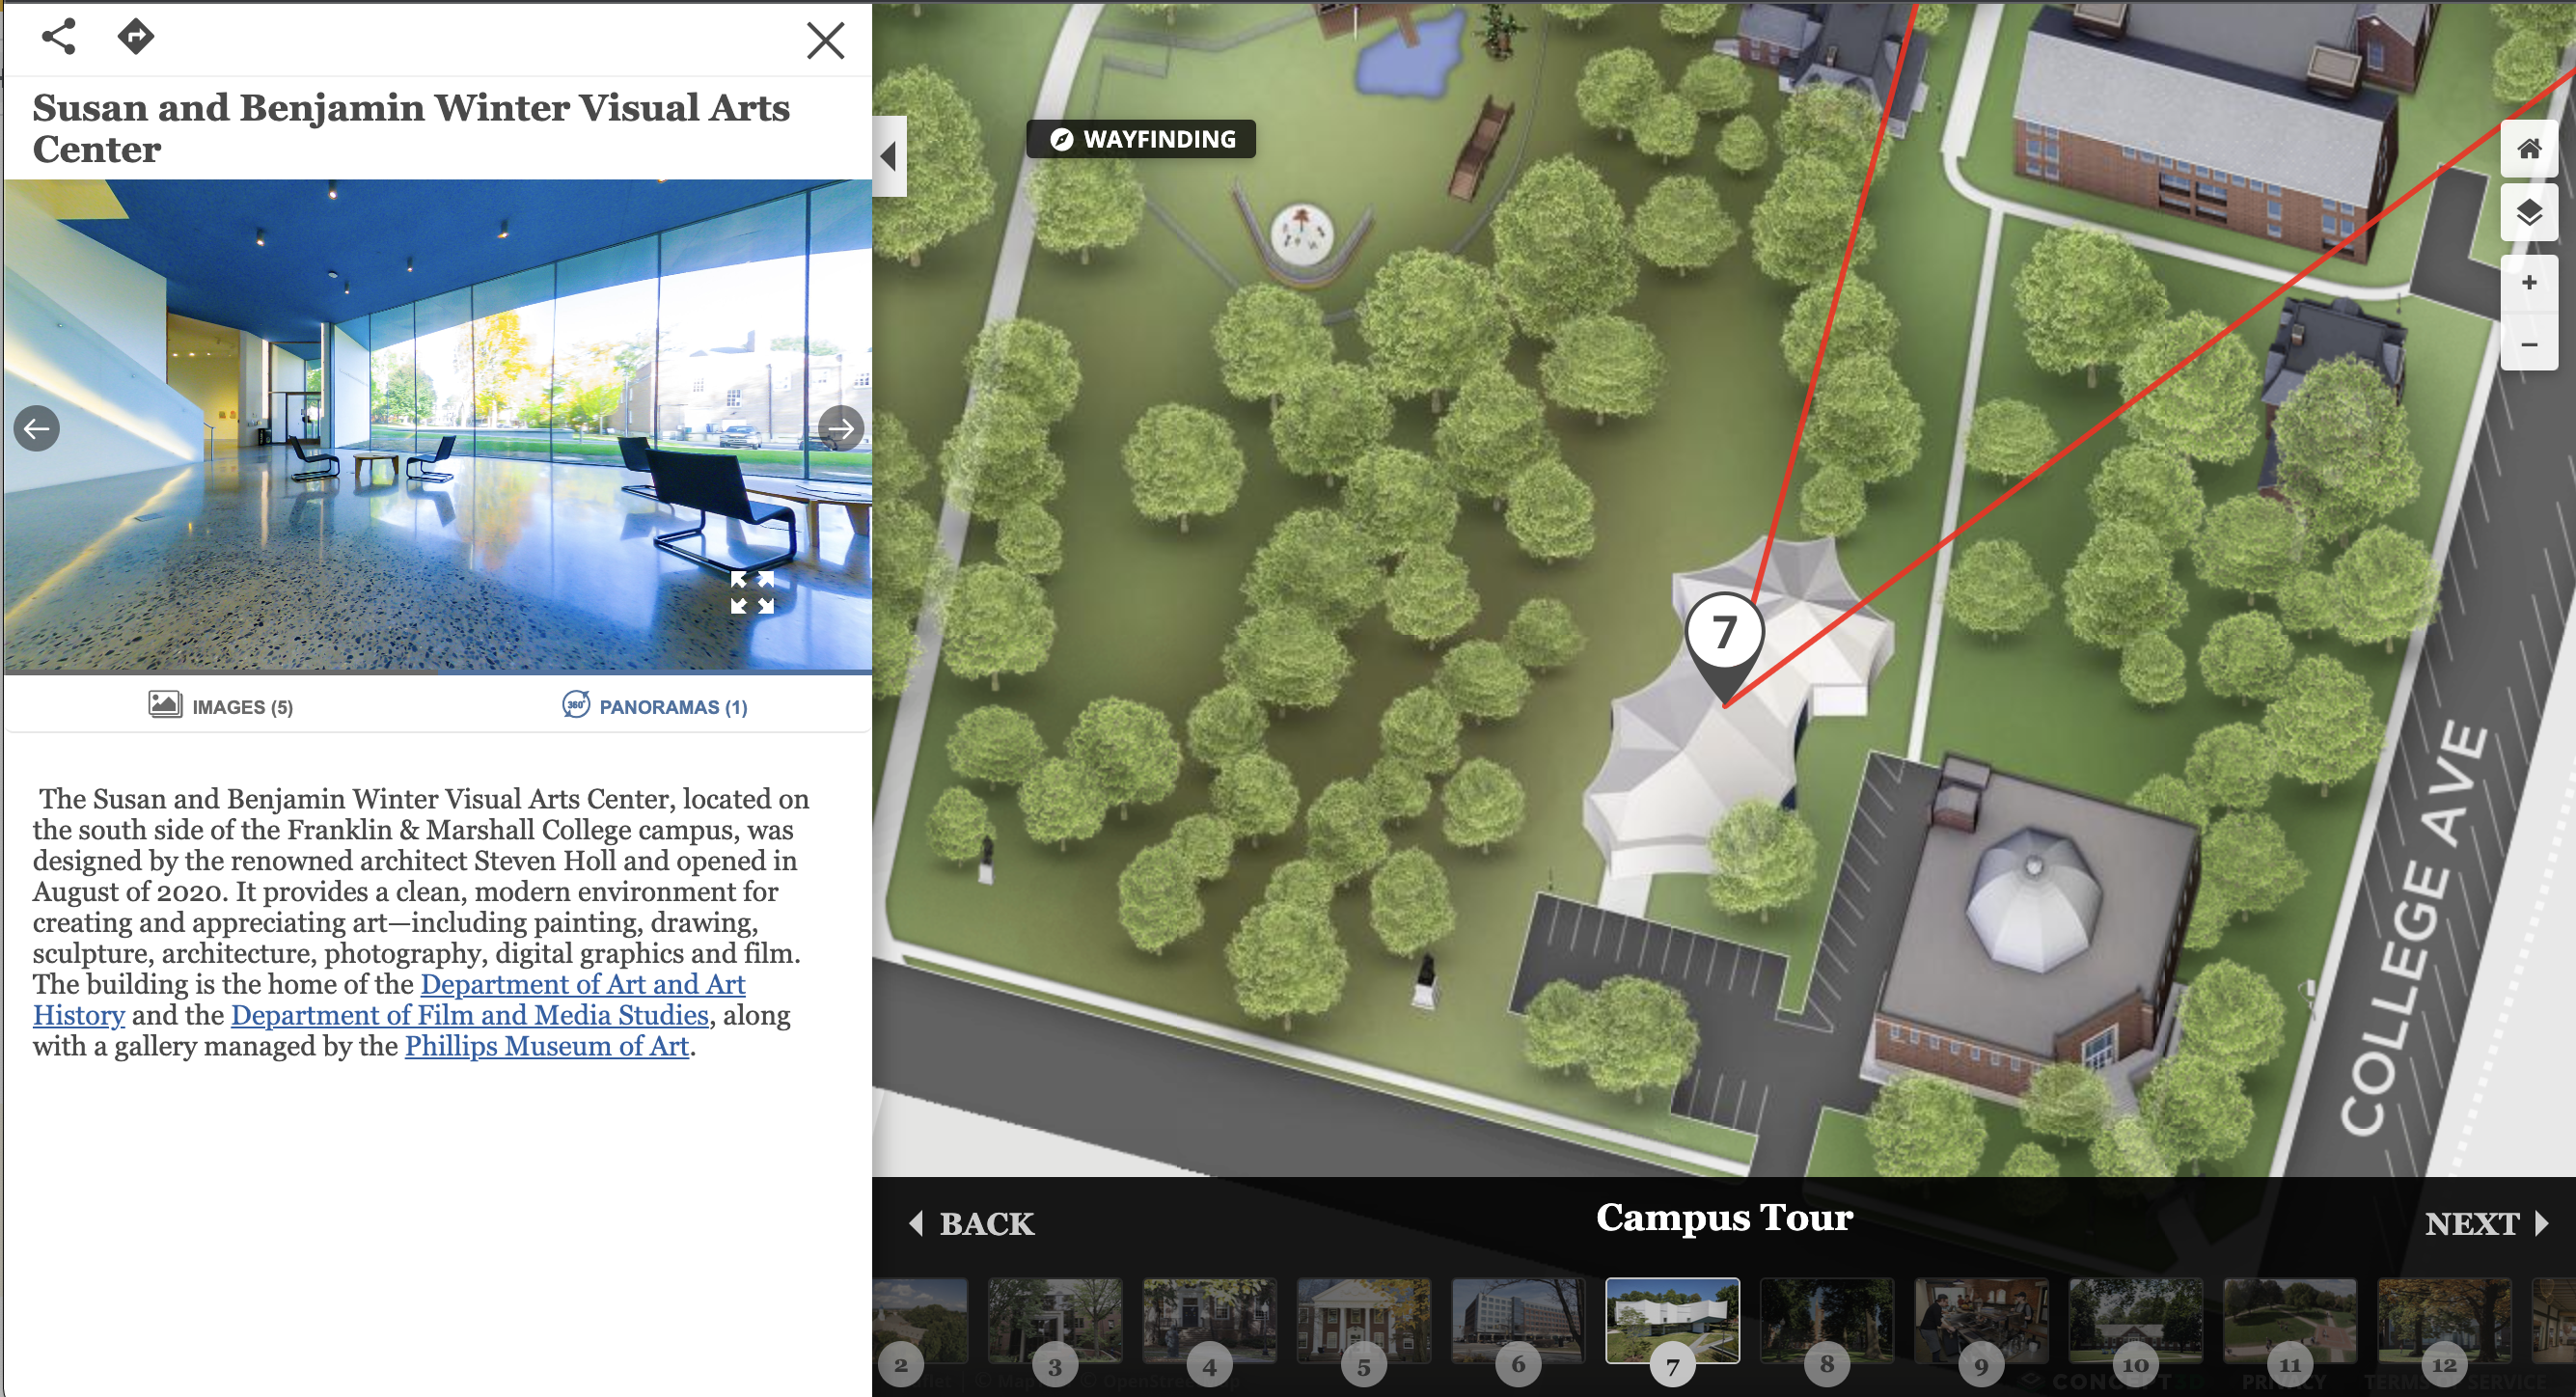
If you have a 360 panoramas category on your map, you can use these 360s within the map tours. There are two different ways to include the 360s in map tours - in the sidebar and fullscreen.
Creating a Map Tour with 360s in the Sidebar
In this version, your 360s will display in the media section of the sidebar with the large map view on the right.

1. Once logged into the Content Management System (CMS), select the New Map Tour button located on bottom of the left hand side bar.
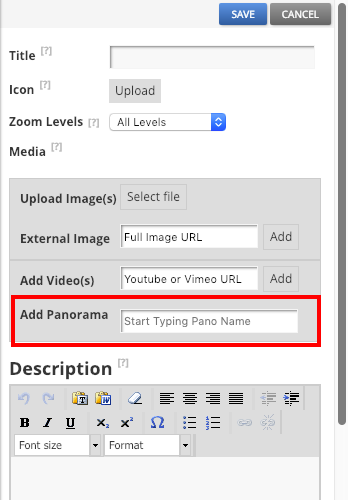
2. Create a tour stop by selecting the new stop button. For a new stop, create a title, enter a description, and include any supporting media. Within the media section, you will see the area to search for a panorama on your map. Search for the panorama name and select the correct panorama to include in the tour stop.

3. To place the location marker on the map, click the marker icon and then click the point on the map where the marker should go. Do not drag and drop. Once on the map, move the marker around as needed. You can also use the polygon or other shape tools.
4. Save and publish!
Creating a Full Screen 360 Map Tour
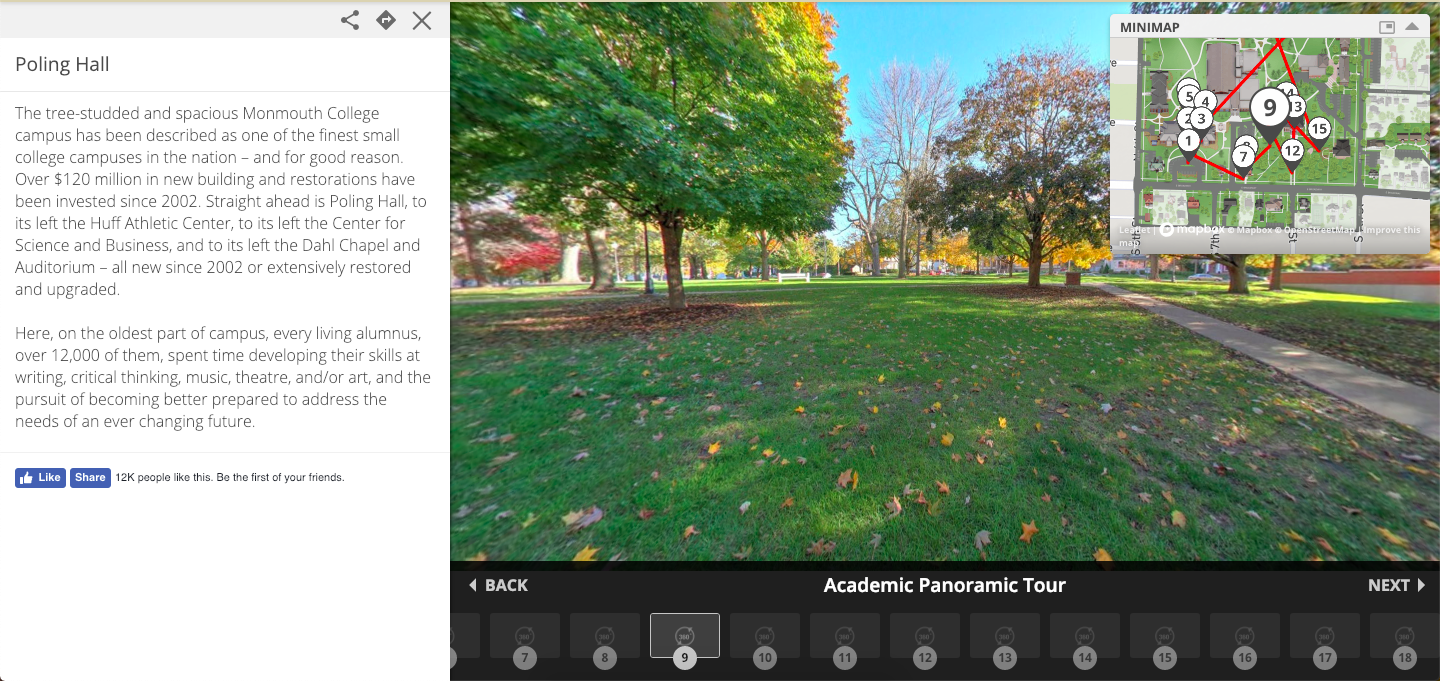
In this version, the 360 will take the place of the large map view on the right, but still have the mini-map display in the top right corner -

1. Once logged into the CMS, turn on your 360 panoramas category to display the location pins on the map.
2. If you would like any description to display in the sidebar of the tour stops, edit the existing 360 locations and add all additional media/text description to that location. Note - this content will only display in the tour.
3. Then select the New Map Tour button located on the bottom left hand of the side bar.
4. Click the 360 location pins to add them to the tour.
5. Once you have added all desired stops to the tour, save and publish!